Click Here to download source code
Package Name : selva.list
Project Name : ListView1
Version : 1.5 ( Supports 1.5 and above Versions)
main.xml
<?xml version="1.0" encoding="utf-8"?>
<LinearLayout xmlns:android="http://schemas.android.com/apk/res/android"
android:layout_width="fill_parent"
android:layout_height="fill_parent"
android:orientation="vertical" >
<TextView
android:layout_width="fill_parent"
android:layout_height="wrap_content"
android:text="@string/hello" />
</LinearLayout>
strings.xml
<?xml version="1.0" encoding="utf-8"?>
<resources>
<string name="hello">Hello World, ListView1Activity!</string>
<string name="app_name">ListView1</string>
<string-array name="Fruits">
<item>Apple</item>
<item>Banana</item>
<item>Orange</item>
<item>Mango</item>
<item>Grapes</item>
<item>Pine Apple</item>
<item>Jack Fruit</item>
<item>Strawberry</item>
<item>Cucumber</item>
<item>Pumpkin</item>
</string-array>
</resources>
ListView1Activity.java
package selva.list;
import android.app.ListActivity;
import android.os.Bundle;
import android.view.View;
import android.widget.ArrayAdapter;
import android.widget.ListView;
import android.widget.Toast;
public class ListView1Activity extends ListActivity {
/** Called when the activity is first created. */
String Fruits[];
@Override
public void onCreate(Bundle savedInstanceState)
{
super.onCreate(savedInstanceState);
//setContentView(R.layout.main);
ListView lstView = getListView();
//lstView.setChoiceMode(0); //CHOICE_MODE_NONE
//lstView.setChoiceMode(1); //CHOICE_MODE_SINGLE
lstView.setChoiceMode(2); //CHOICE_MODE_MULTIPLE
lstView.setTextFilterEnabled(true);
Fruits=getResources().getStringArray(R.array.Fruits);
setListAdapter(new ArrayAdapter<String>(this,android.R.layout.simple_list_item_multiple_choice, Fruits));
}
public void onListItemClick(ListView parent, View v, int position, long id)
{
parent.setItemChecked(position, parent.isItemChecked(position));
Toast.makeText(this,"You have selected " + Fruits[position],Toast.LENGTH_SHORT).show();
}
}
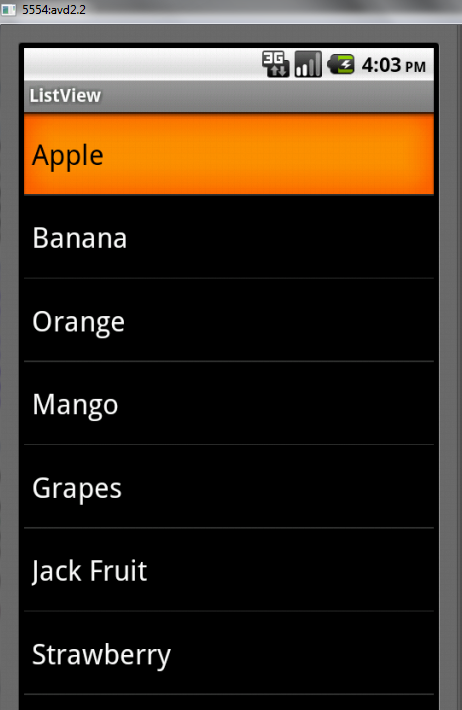
OUTPUT:


Click Here to download source code